How to Hike the Tahoe Rim Trail
Introduction
The Tahoe Rim Trail (TRT) is a stunning ~170-mile loop that circles the breathtaking Lake Tahoe, straddling the borders of California and Nevada. This trail offers a unique blend of scenic beauty and physical challenge, with panoramic views of the lake’s famous blue waters, the surrounding Sierra Nevada mountains, and the expansive wilderness. Rising to elevations over 10,000 feet, the TRT takes hikers through a variety of landscapes, including lush forests, alpine meadows, and rocky, exposed ridges.
One of the key draws of the Tahoe Rim Trail is its accessibility and flexibility. It can be tackled as a continuous thru-hike over the course of about two weeks, or enjoyed in smaller sections for those who have less time. Whether you’re a seasoned thru-hiker or a weekend adventurer, this trail has something to offer most hikers.
I was particularly drawn to the TRT because it promised a diverse experience— from the rocky climbs of the Desolation Wilderness to the peaceful beauty of Marlette Lake, there’s no shortage of jaw-dropping scenery along the way. I also wanted flexibility since I was jumping onto this trail with minimal planning at the end of the hiking season. If the weather decided to take a turn, I wanted options to bail or wait out a storm.
If you’re new to thru-hiking or backpacking in general, this trail does require planning and preparation, as the elevation changes and high-altitude sections can be quite demanding. But those challenges make the trail all the more rewarding. Whether you’re climbing steep switchbacks or traversing long, ridgeline paths with 360-degree views, every step on this trail brings you closer to nature and the sense of adventure that every hiker seeks.
In this post, I’ll take you through my journey on the Tahoe Rim Trail, breaking down the highlights and challenges of each section, offering tips for anyone planning to hike it, and sharing the moments that made this adventure unforgettable. If you’re someone who’s been dreaming of a wilderness adventure that combines epic scenery with physical and mental endurance, the Tahoe Rim Trail might just be your next hike. Let’s dive into the adventure!
Trail Overview
The Tahoe Rim Trail (TRT) circles the magnificent Lake Tahoe, straddling the borders of California and Nevada. Depending on who you ask, the trail is either 165, 170, or 175 miles all the way around. I have yet to get a fully straight answer– my NatGeo maps said 175, but the TRT association gives out 165 miler patches upon completion, so let’s say 165 is the official length, while 174 is what I got on my GPS.
Trail Conditions
The TRT is well-maintained and clearly marked, making navigation relatively straightforward. Most junctions are well-signed with blue TRT blazes. I would still recommend downloading the FarOut guide and/or carrying a paper map like the National Geographic Map, as they both have valuable information on campsites and water sources.
Hikers need to be prepared for varied conditions depending on the season and section of the trail. During the summer months of July and August, the trail is mostly dry and warm, but sections in the higher elevations—such as the Desolation Wilderness or Mount Rose—can still have snow patches lingering into late July. Late-season hikes might offer cooler temperatures, but some sections could be prone to early snowfall. You’ll also encounter rocky terrain, long switchbacks, and exposed ridgelines.
Water Sources
Water sources can be scarce in certain sections, particularly on the Nevada side of the trail. It’s important to plan resupplies and be aware of reliable water points. I found it essential to carry enough capacity for longer dry stretches, as the alpine terrain can leave you exposed and far from streams or lakes for miles.
The longest stretch of trail without water was 17 miles on the northern section of the loop before Mt Rose. I had a 3.5 L capacity and found that was enough, however in hotter conditions, this may not suffice. I found the comments section on FarOut to be especially helpful for near-real-time updates on water availability along the trail.
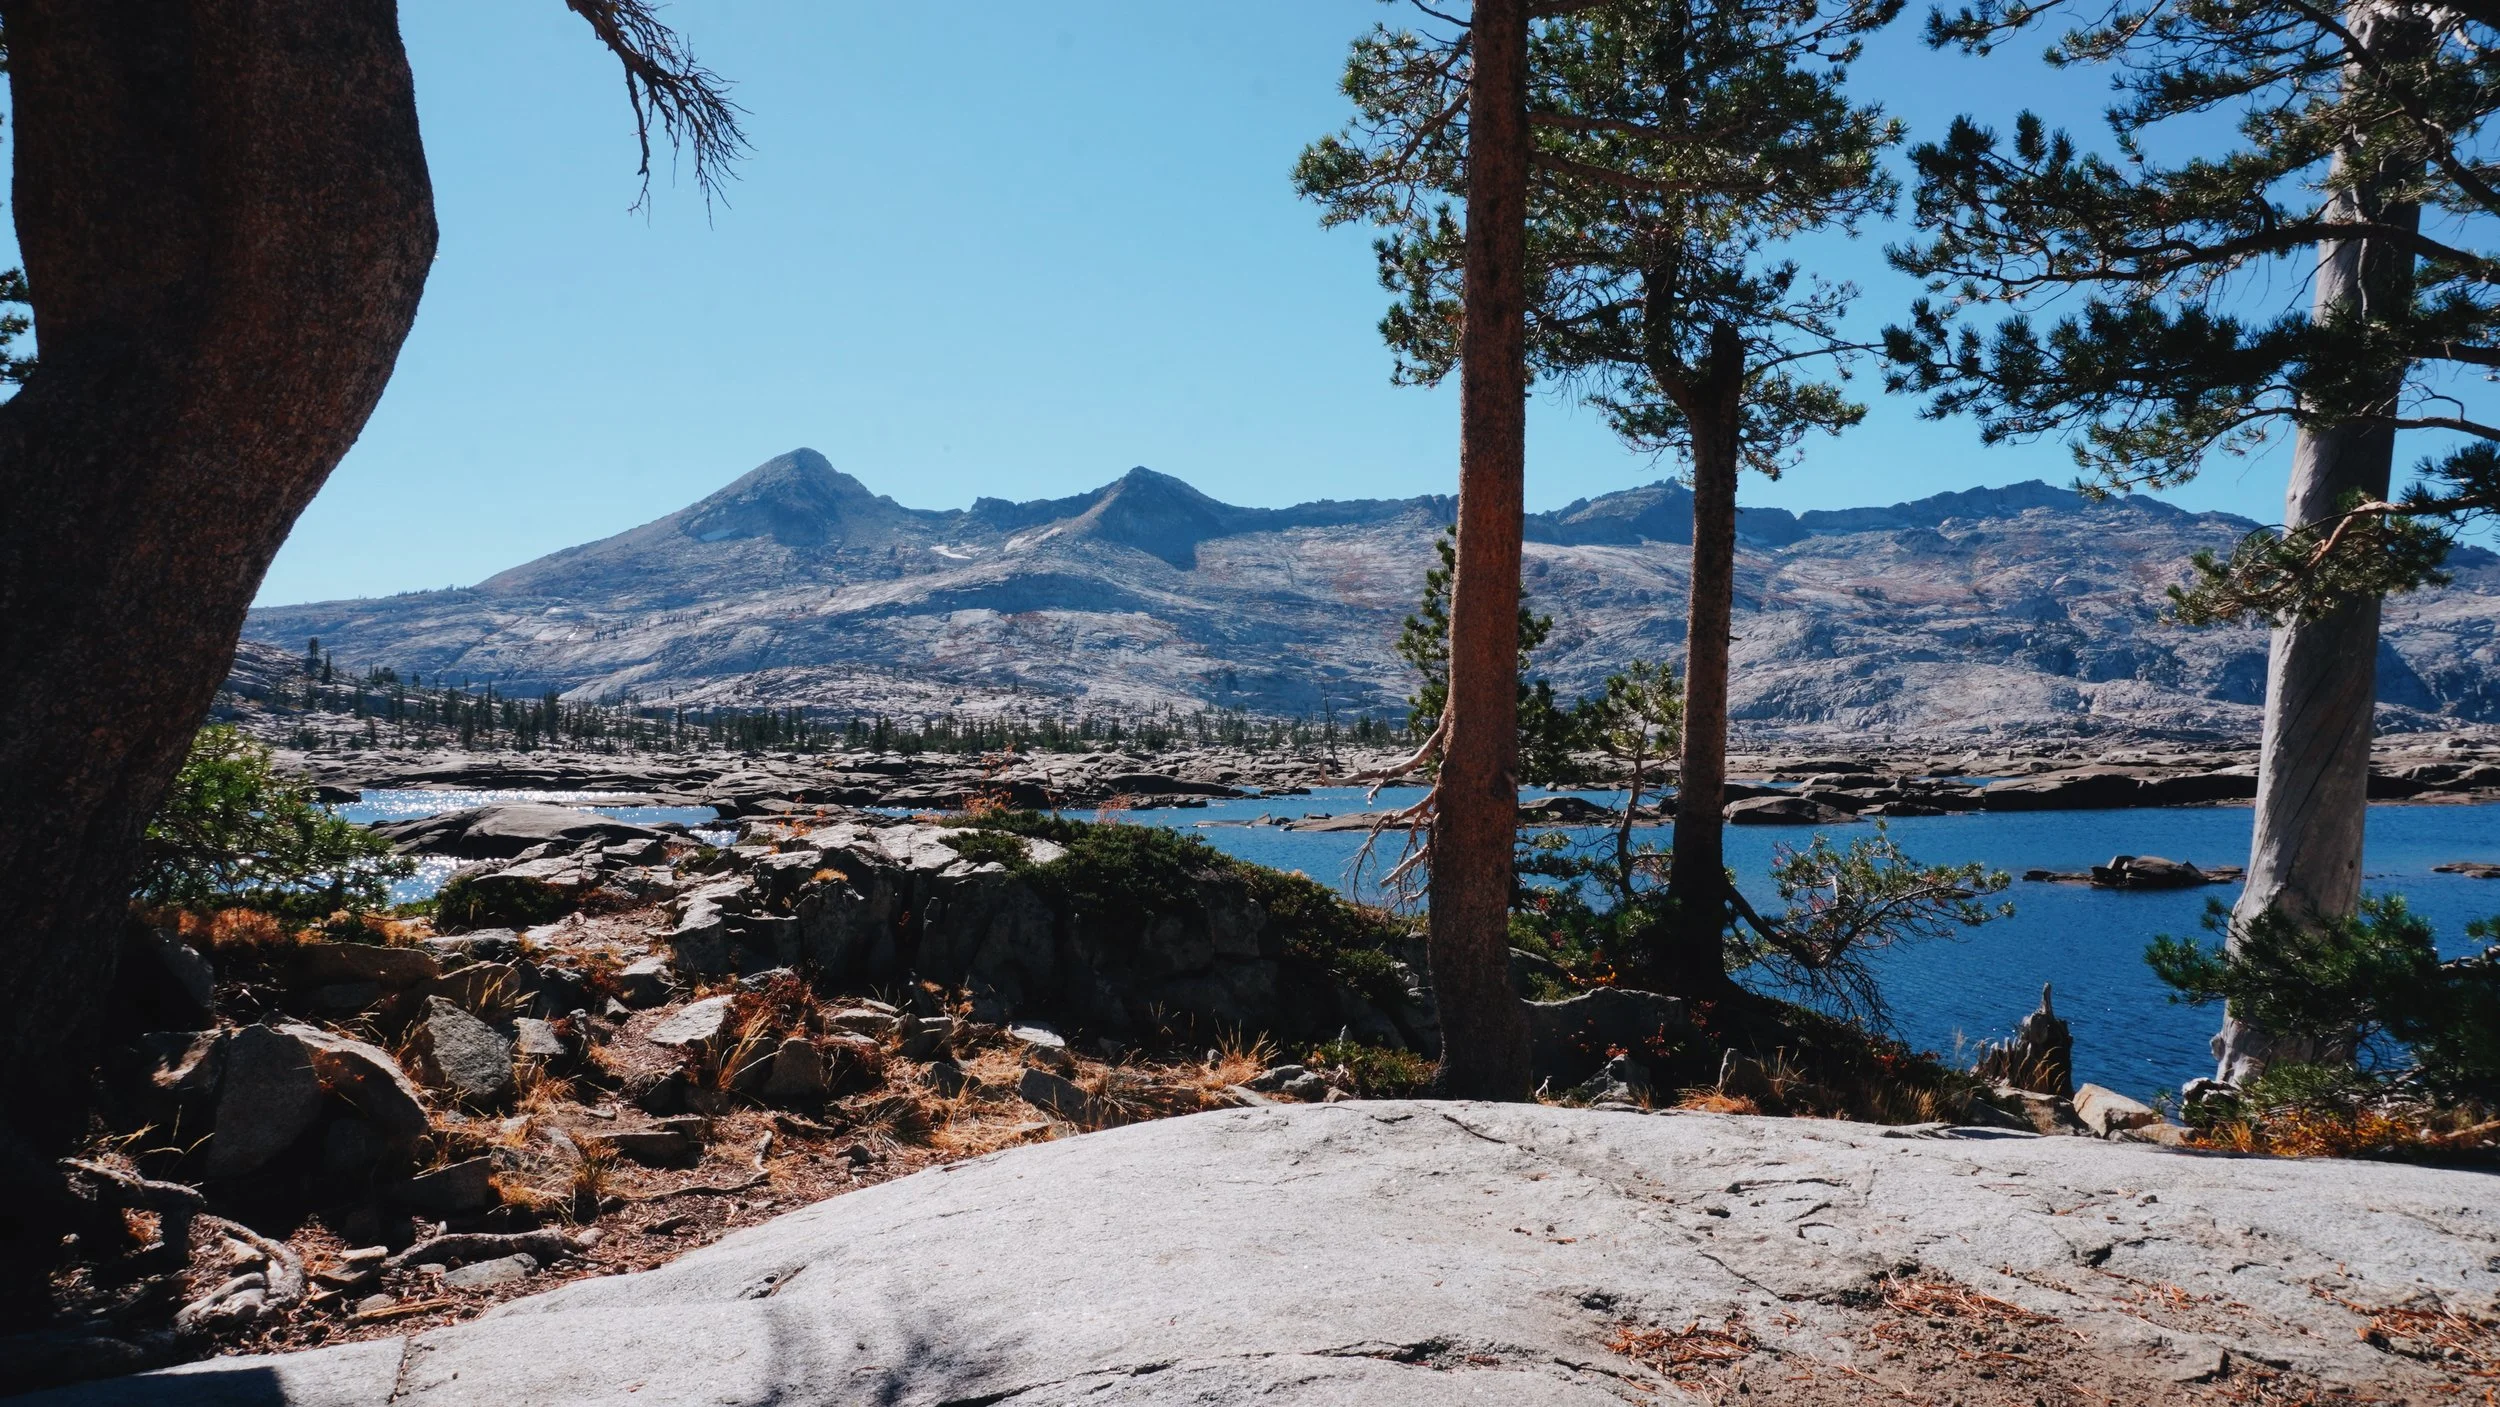
Lake Aloha– Desolation Wilderness
Where to Start or End
The Tahoe Rim Trail is a loop, which means you can technically start or end wherever it suits your logistics. The most popular trailheads for starting and ending are:
Echo Lakes (near South Lake Tahoe): A common starting point with easy access to the Desolation Wilderness.
Tahoe City: A convenient spot in California, located near town services, making it a frequent choice for section and thru-hikers. The trail walks right through Tahoe City, so it’s an easy starting point or resupply point.
Mount Rose Summit: Located on the Nevada side, this trailhead offers stunning views early on and can be a good start for those looking for a higher-elevation challenge right from the get-go.
If you're planning a thru-hike, I would suggest starting at a trailhead close to town, such as Tahoe City or Echo Lakes, for easy access to supplies and accommodation.
For my hike, I chose to begin at Echo Lake Trailhead on September 30 and completed the full loop, finishing back at Echo Lake on October 10. This time of year was perfect for cooler temperatures and fewer crowds. Starting at Echo Lake offered an immediate dive into the desolation wilderness, with rocky, rugged terrain leading into some of the most spectacular alpine sections of the trail.
Elevation
The Tahoe Rim Trail varies in elevation, ranging from about 6,200 feet at lake level to over 10,000 feet at its highest point, Relay Peak (10,338 feet), which lies on the Nevada side of the trail. The average elevation gain for each of the 8 segments of trail is 5,400 feet, while the elevation gain throughout the entire hike is over 40,000 feet, making it a solid physical challenge for any hiker. I found the climbs to be well-graded and the switchbacks plentiful, so while the climbs were often long, they weren’t overly taxing.
Resupply
The TRT has a few key resupply points depending on how you plan your hike. Popular spots include:
South Lake Tahoe: A bustling town that offers all services, from grocery stores and restaurants to gear shops. The Mellow Mountain Hostel offers the best prices for lodging anywhere in the area and the staff are super friendly.
Tahoe City: A smaller town with essential services, including a grocery store, hotels, and dining options.
Incline Village: Hitch or bus down from Mt Rose into this small town. I didn’t stop here, but word on the street is that it’s less hiker friendly than other stops and accommodation is pricey.
Kingsbury Grade/Nevada Side: Limited services here, but you can arrange a resupply or hitch into nearby Stateline for groceries and a meal.
Best Time to Hike
The best time to hike the Tahoe Rim Trail is from late June to early October. In June and July, the trail can still have snow in higher elevations, especially in the Desolation Wilderness, but wildflowers will be in full bloom. August and September generally offer stable weather, though summer thunderstorms can be common in the afternoons. October can bring cooler weather and fewer crowds, but there is always a chance of early snow, so plan accordingly.
The trail is popular among both thru-hikers and section hikers, so you’re likely to encounter others, especially during the peak summer months. However, because the TRT is spread out over 170 miles, there’s plenty of solitude to be found if you prefer a more tranquil hiking experience.
I hiked this trail right at the tail end of the season from September 30 to October 10th, 2024. I was definitely lucky with the weather and had no rain, no snow, lots of sun, and temperatures mostly above 20ºC/68ºF. I loved seeing the fall foliage coming out in gold and red during this time of year.
I only ran into 2 other thru-hikers, one going clockwise like me and the other headed counter-clockwise. Most campsites were quiet by myself or with just a couple other backpackers. In the height of summer, this would be a different experience, especially in the 50 mile stretch that overlaps with the Pacific Crest Trail.
Permits for the Tahoe Rim Trail
Hiking the Tahoe Rim Trail (TRT) requires a bit of planning when it comes to permits, especially for thru-hikers and those camping overnight. Here’s a breakdown of the key permits and regulations to keep in mind:
1. Desolation Wilderness Permit
If you plan to camp within Desolation Wilderness, which is a popular and scenic part of the TRT near the Echo Lakes area, you’ll need a specific wilderness permit. If you’re hiking near the end of September and beyond, the permit cap is removed, so you’ll have no issues. The permitting office is friendly to TRT thru-hikers and will help you get the permit you need, even in the high season. I went into the United States Forest Service Office at 35 College Dr in South Lake Tahoe because I needed my permit last minute, and they issued me one right away. You can also call >10 days ahead and they can help you over the phone. The rule for TRT thru-hikers is that you’re allowed 3 days and 2 nights in Desolation Wilderness, which is more than enough time to make your way through it.
Type: Overnight camping permits are required year-round for any overnight stay in the Desolation Wilderness area.
Reservation: Permits are available through the Recreation.gov website, and it’s recommended to reserve early, as quotas are limited.
Cost: Permit fees are generally around $5 per person for the first night, with a small additional fee per person for each extra night.
Restrictions: TRT thru-hikers are asked not to camp at Lake Aloha to help minimize impact. This is a very popular destination not far from the trailhead and is getting overused. Do your part and camp elsewhere.
Bear Can: In the past this was the only section that required a bear can for overnight hikers, however the regulation has recently been updated and now requires TRT hikers to carry a bear can for the entire length of the trail.
2. California Campfire Permit
While campfires are generally restricted in most parts of the Tahoe Rim Trail, a California Campfire Permit is required for using portable gas stoves. I picked one up, for free, at the same time that I acquired my wilderness permit.
Type: The campfire permit is free and can be easily obtained online through the California Department of Forestry and Fire Protection website.
Conditions: Even with a permit, open fires are restricted in most parts of the TRT due to fire danger. Always check local fire regulations before starting any open flame.
3. Camping Regulations and Limitations
Certain parts of the TRT have unique camping rules:
Lake Tahoe Nevada State Park: Camping is only allowed in designated campgrounds, such as those near Marlette Peak and Spooner Lake. This area does not allow dispersed camping, so plan accordingly.
Mount Rose Wilderness: Dispersed camping is allowed but requires careful Leave No Trace practices. This section also experiences colder temperatures, so be prepared.
4. Special Rules for Vehicles and Parking
If you plan to leave a vehicle at a trailhead, there may be restrictions or fees depending on the location.
Trailhead Parking: Major trailheads like Echo Lake, Tahoe City, and Mount Rose Summit may have limited parking, especially in peak season. Some areas require paid parking or have time limits, so check in advance.
Shuttle Services: Consider using shuttle services available around Lake Tahoe to avoid the hassle of parking and to get back to your starting point if you’re not hiking a full loop. There are buses from Reno airport to South Lake Tahoe and back, if you’re arriving from out of town.
5. Best Practices for Responsible Hiking
Permits not only help manage the trail's impact but also promote responsible outdoor ethics:
Leave No Trace: Always practice Leave No Trace principles, especially in fragile alpine and wilderness environments.
Wildlife Safety: Bear canisters are required on the TRT for thru-hikers.
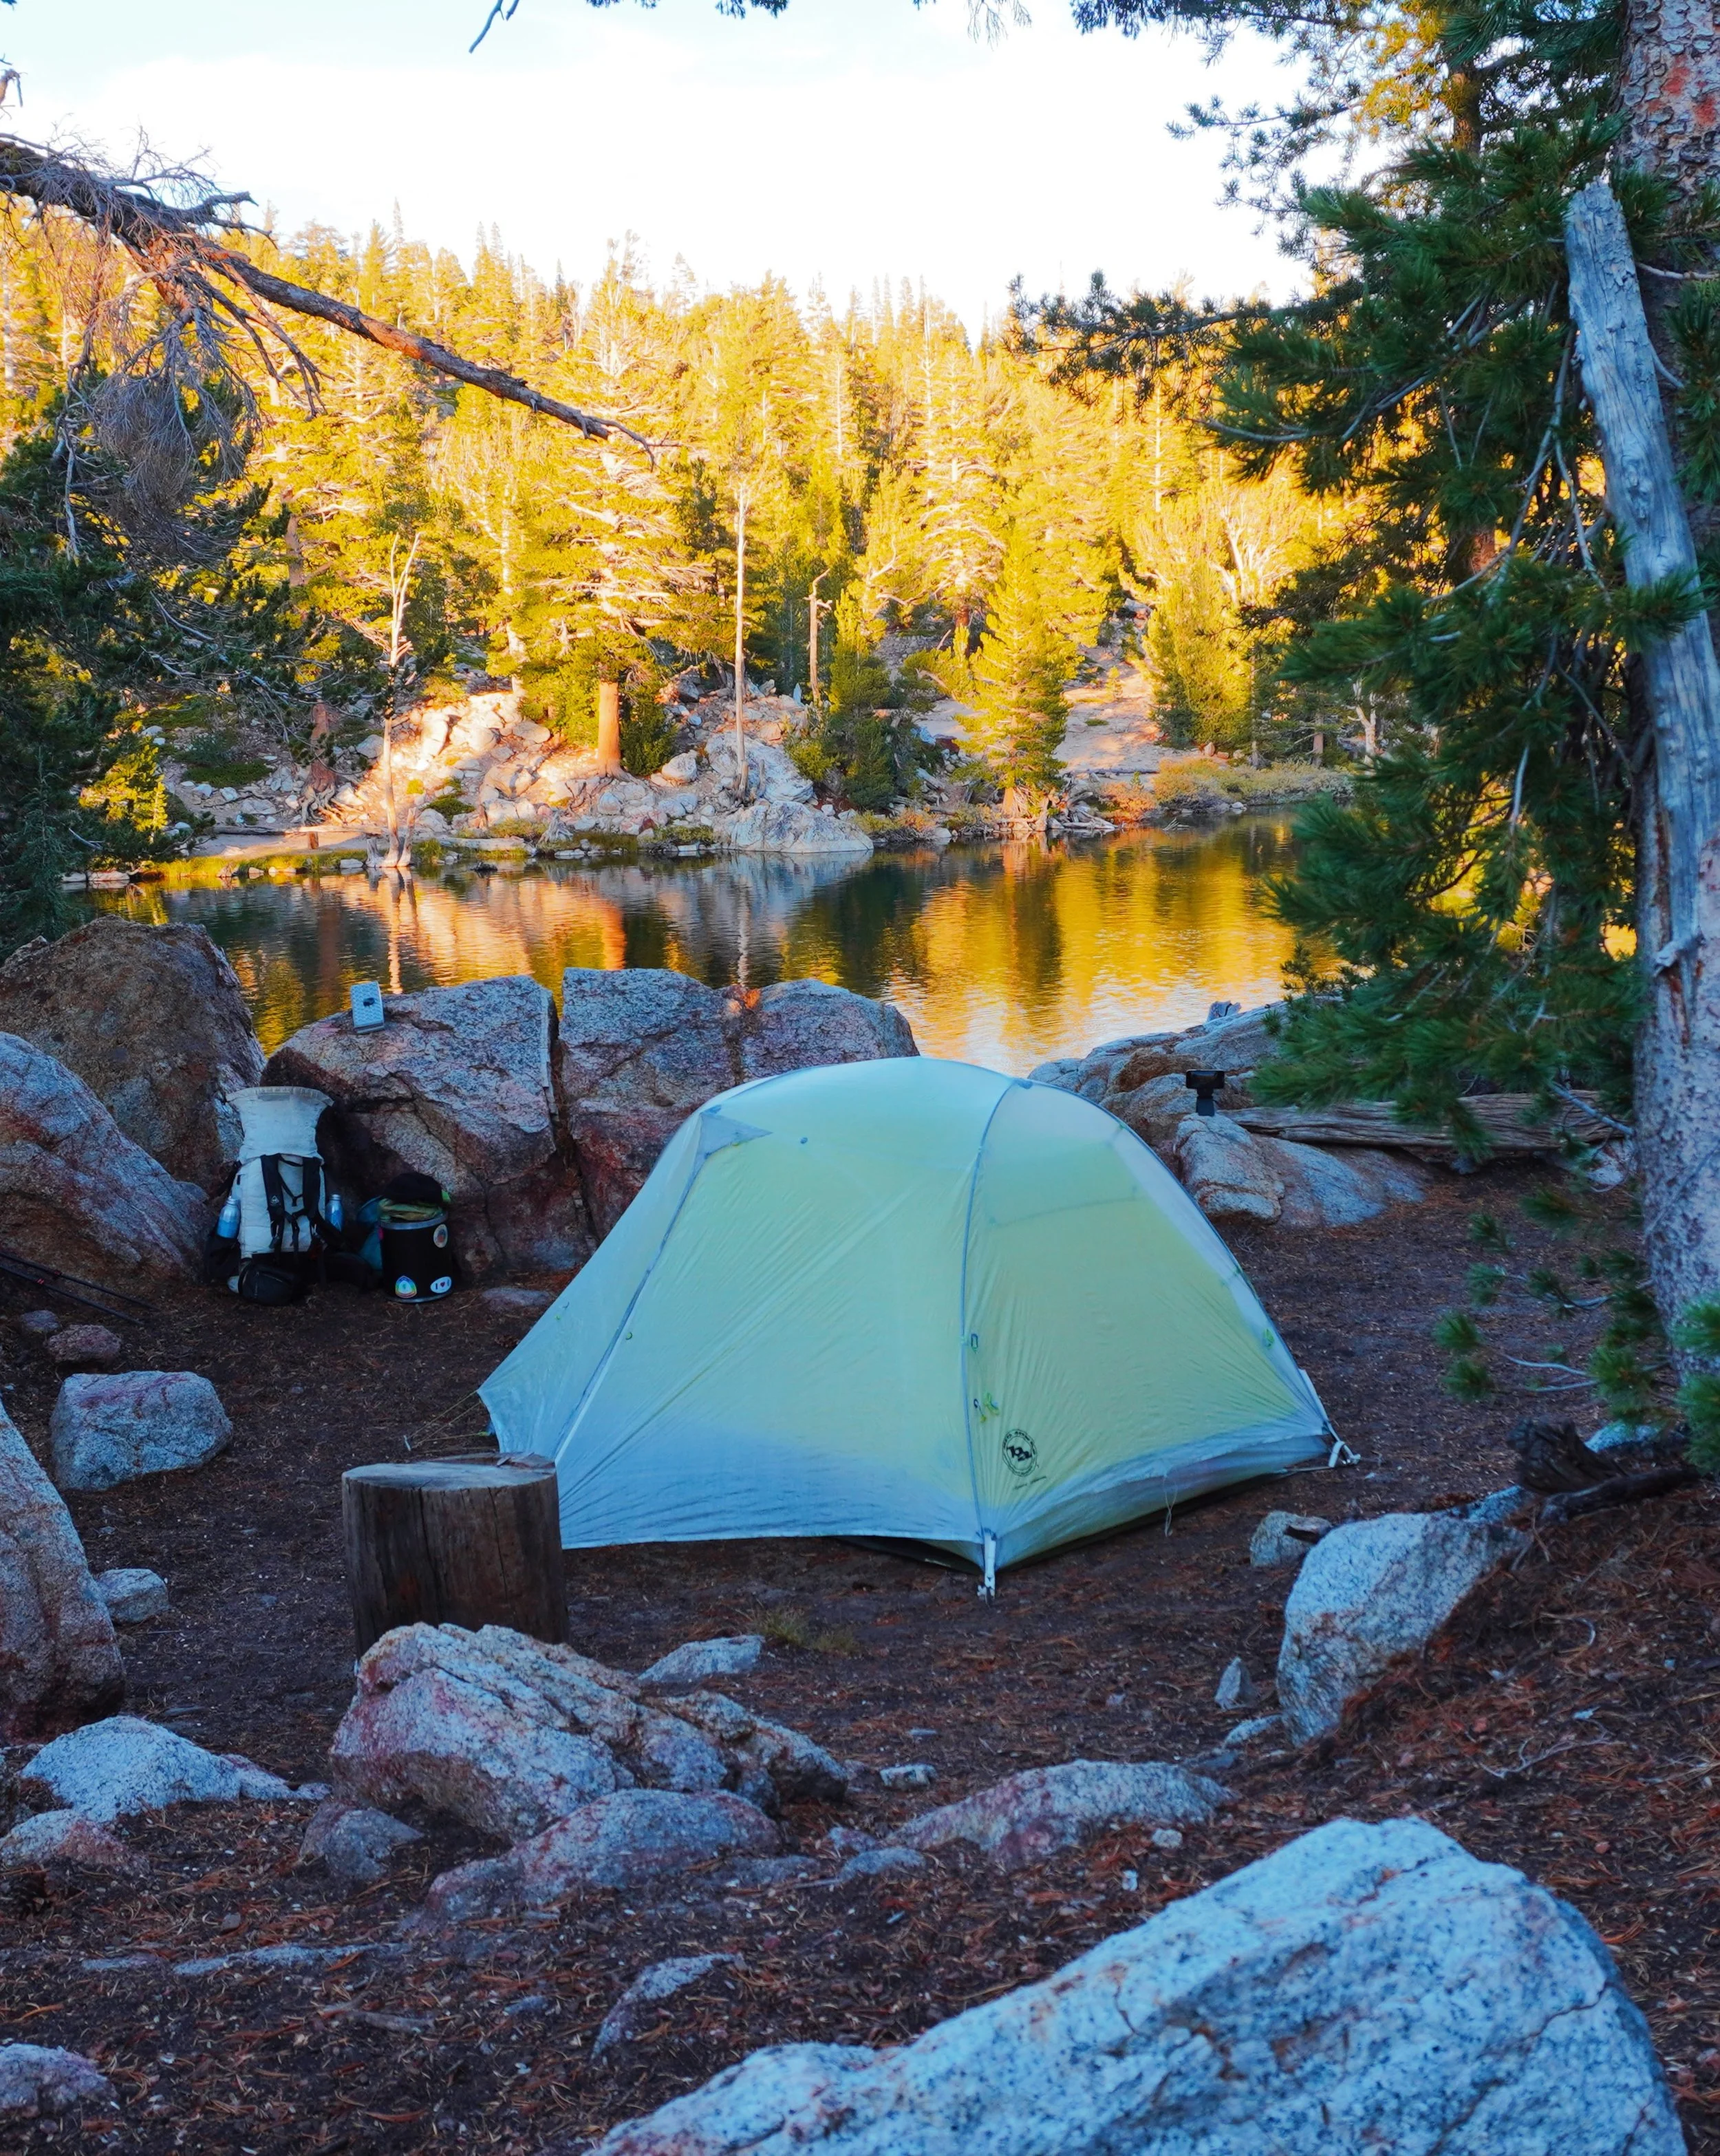
Camp set up at Star Lake
Backpacking Gear
For this hike, I aimed to keep my gear lightweight but durable enough for the rugged sections of the trail. I’ll walk through what I brought along. These aren’t suggestions, just what I have been using and liking for several thousands miles. Each hiker is different and will require their own specific gear.
Backpack: I used the Hyperlite Southwest 2400, a lightweight backpack, which had enough capacity for my bear can, tent, food, water, electronics, and additional layers. With minimal water sources on the Nevada side, I had to carry about 3.5 L of water, so a comfortable backpack was crucial.
Tent and Sleeping System: I opted for a compact, lightweight tent, my usual Big Agnes Tigerwall Carbon. My sleeping bag was rated to 10°F, which kept me comfortable during the colder nights in early October. I paired it with an insulated NeoAir Xlite sleeping pad to ensure a warm sleep setup for the chilly mountain nights.
Clothing: The fall temperatures on the TRT can vary greatly, so I layered up for versatility. Key items included:
Hiking layer: TownShirt sun hoody for sun protection, moisture-wicking, and temperature regulation.
Puffy layer: A Montbell down jacket for the cold evenings and early mornings.
Mid layer: A Senchi Designs lightweight alpha fleece for an extra bit of warmth when sleeping or cold hiking mornings.
Rain gear: An Outdoor Research Helium 2 women’s rain jacket for unexpected showers.
Shorts: Lululemon Hotty hot running short.
Footwear: I wore Altra LonePeak trail runners, which offered the perfect balance between flexibility and support. I paired this with Darn Tough wool hiking socks.
Bear Canister: I personally have a BearVault, but a friend graciously lent me the Bearikade Carbon Fiber Bear Proof Canister, which was smaller and lighter. Bear canisters are now necessary for the entirety of the trail.
Food and Water
With limited resupply options, particularly on the Nevada side, I carried enough food for about 4 days at a time. I resupplied at Tahoe City and South Lake Tahoe. Here’s how I approached food and water:
Food: My meals consisted of ramen and tuna for dinner, oatmeal and coffee for breakfast, tortillas with peanut butter and jam for lunch, and protein bars, nuts, and dried fruits for snacks.
Cooking: I brought a small canister stove and a lightweight titanium pot for hot meals.
Water Management: Water can be scarce on the Nevada side, so I used a water filter to ensure I could drink safely from various sources along the way. I carried extra capacity, filling up whenever I encountered a reliable stream or lake, particularly in areas known for long dry stretches. Altitude can also be a factor when hydrating, so bring along electrolyte packets/tablets to manage dehydration.
Navigation
Navigation on the TRT is relatively straightforward, but certain tools made my experience smoother and safer:
FarOut Maps/GPS: I used FarOut, a GPS app on my phone, which was invaluable for tracking water sources and campsites. I also brought a physical map as a backup.
Satellite Messenger: Since some sections have limited or no cell reception, I carried a Garmin InReach satellite messenger for emergencies.
My Itinerary
This is how I hiked my hike, with campsites, resupply stops, and town stays. The mile/km markers are from FarOut, on which Tahoe City is the starting point. I hiked clockwise starting from Echo Lake, so the numbers will reflect that.
The average distance hiked per day, excluding days with 0 miles, was approximately 17.4 miles or 28 kilometers. I felt like this itinerary allowed me plenty of time to take long mornings at camp, enjoy a good lunch break, and set up camp before dark set in at 7pm. I wanted this hike to be a bit of a vacation, so I chose to hike smaller days and take more time to enjoy the surroundings. That being said, my hiking pace throughout was about 4.5km/hr or 2.8 miles/hour, so make your adjustments according to your own pace.
Campsites
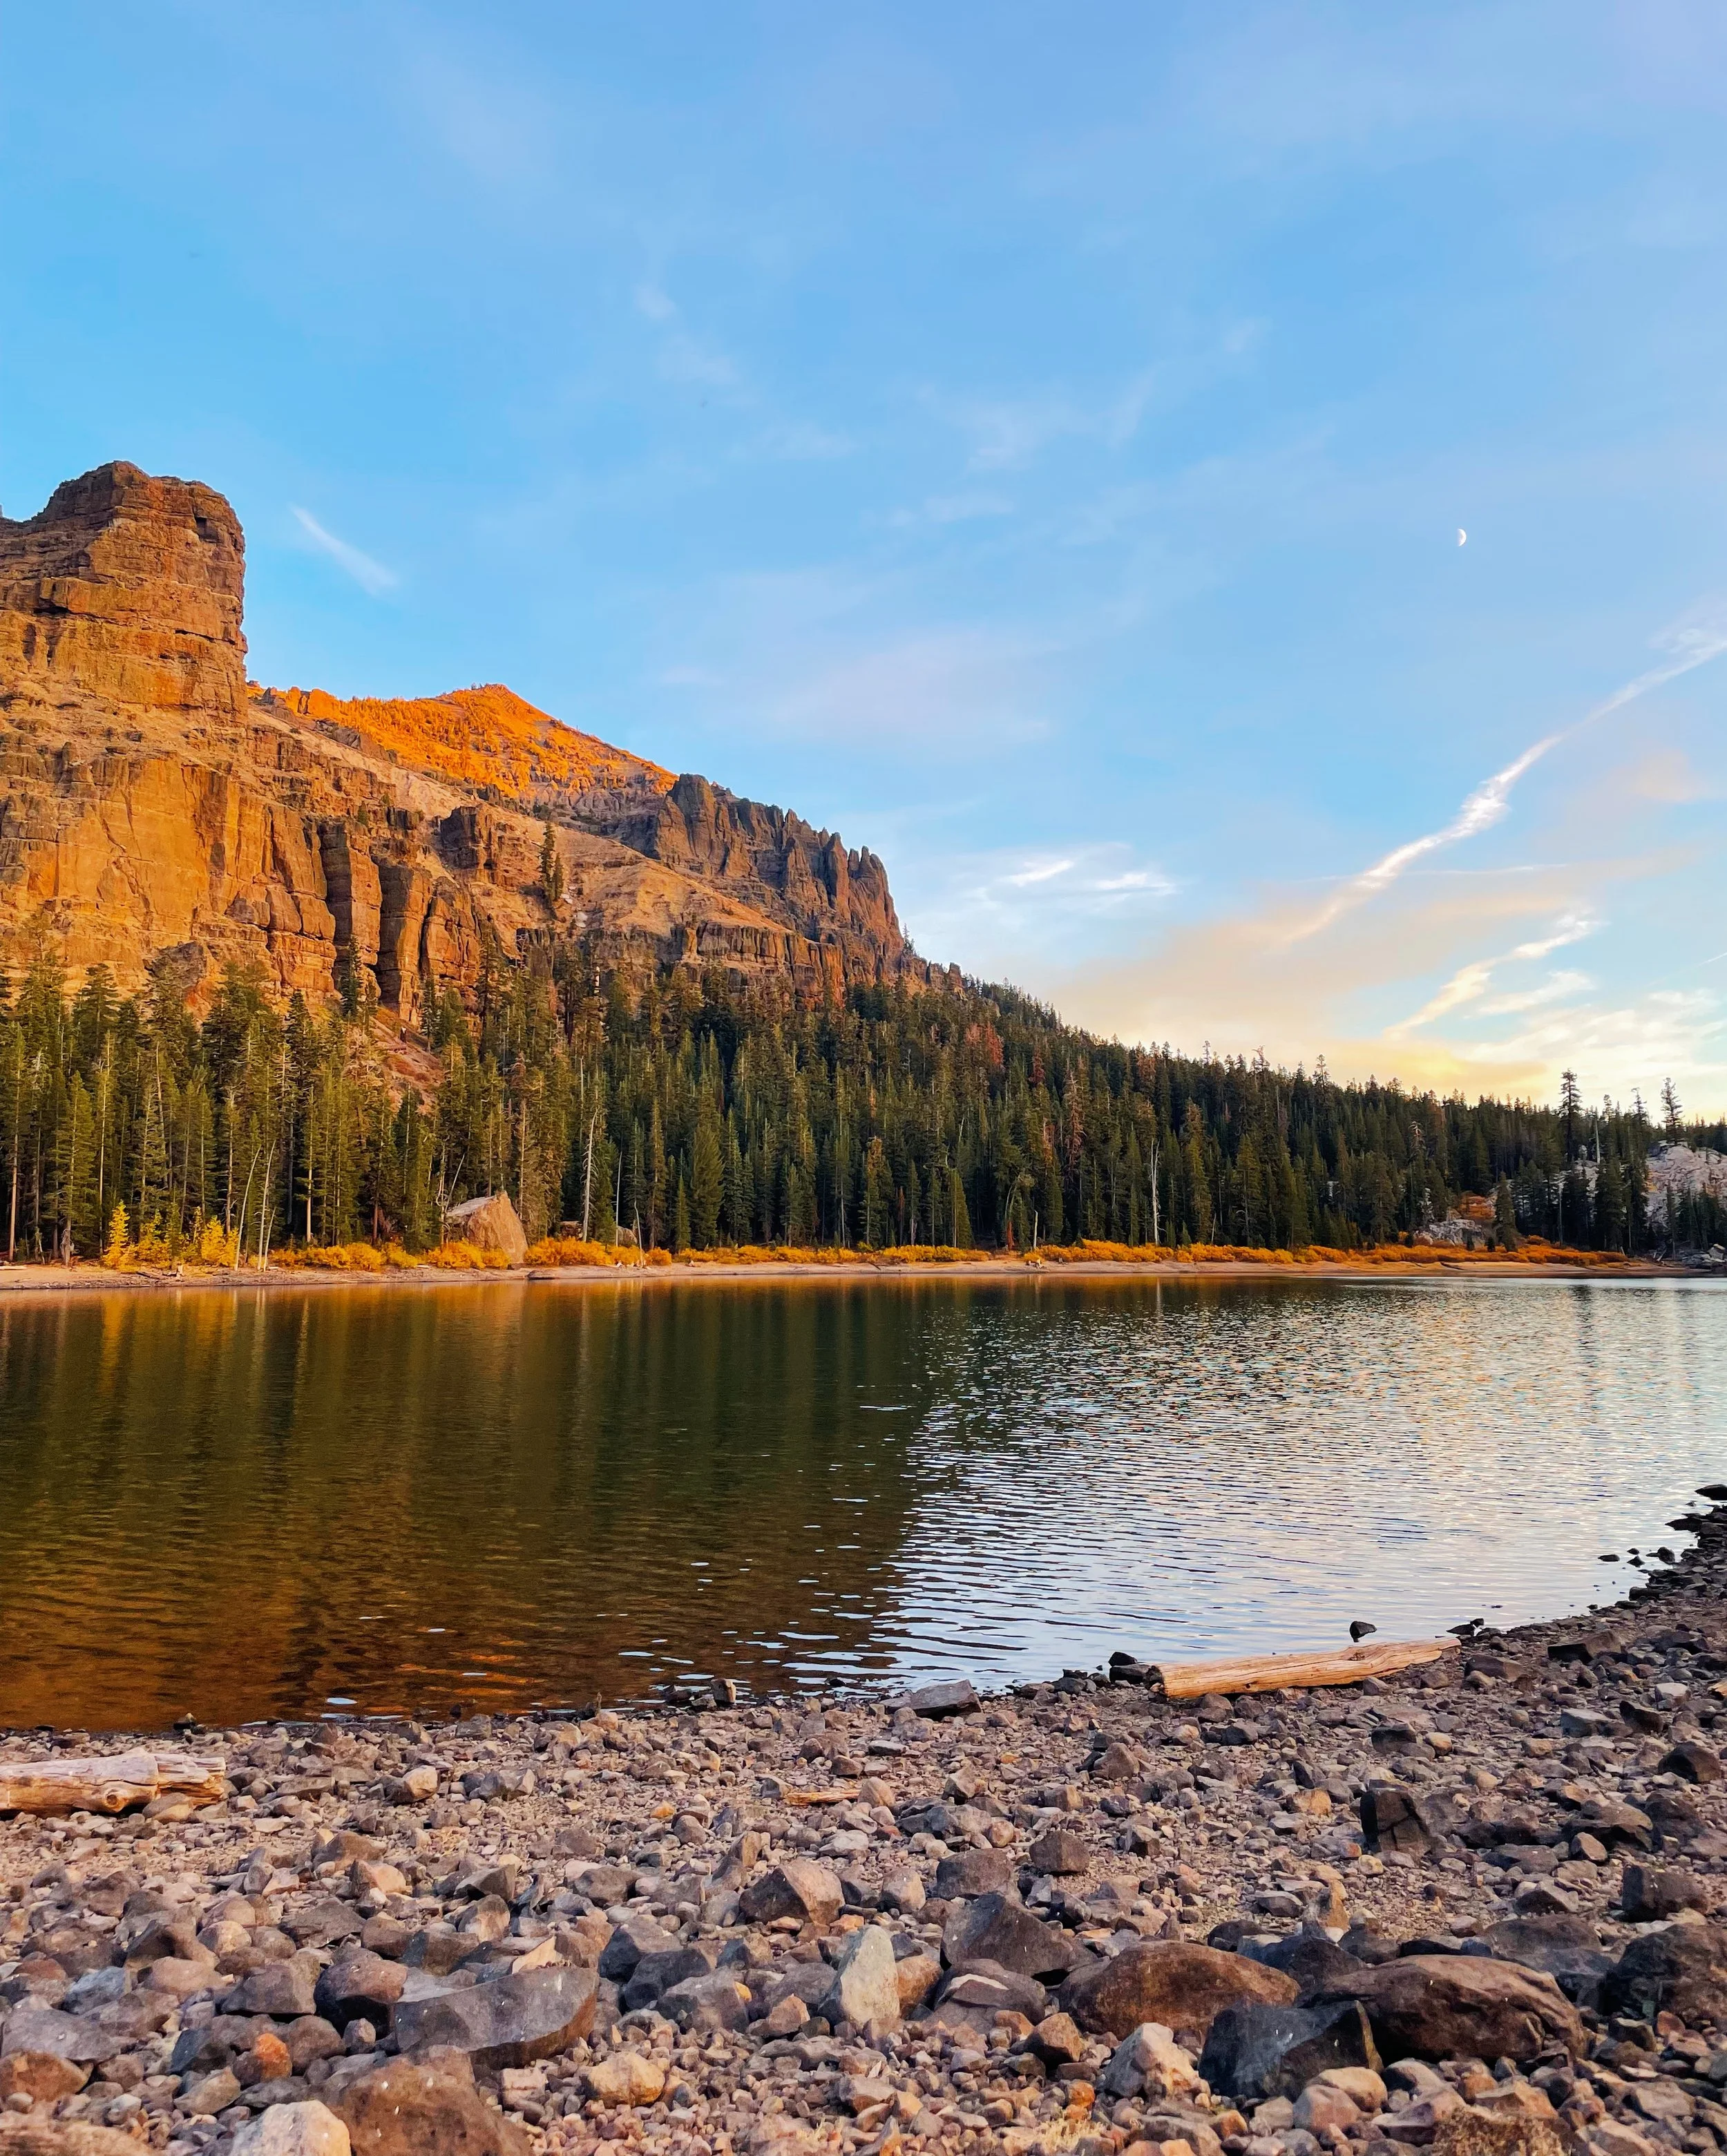
Star Lake and Round Lake were two of my favourite camp spots along the trail. They were both really beautiful with easy flat camping far enough from the water.
Mount Rose is a paid campsite. The sign showed that it was $32 USD for a tent site per night! I was there in the off season, so the campground was closed. This meant that the tent site was free, but the water was turned off and the dumpster was locked. Luckily one of the bathrooms was still open.
The Forest Service asks that thru-hikers not camp at Lake Aloha to help minimize impact. I had a long lunch at Aloha and then camped at Suzie Lake and it was very nice.
On the North-Eastern side of the trail, there is a section where no wild camping is permitted. There are two campgrounds, Marlette Peak Campground and North Canyon Campground, that both have water and plenty of flat tent spaces.
Accommodation
I wouldn’t recommend zeroing in Tahoe City unless you can find cheap accommodation ahead of time to fit your schedule or are hiking with other hikers you can share with. I stayed for a day because of a stomach bug, but it wasn’t the most affordable place to stop, especially as a solo hiker. There is a campground at the end of town, but it’s not open in the off season. Tahoe City has a Safeway and a popular pizza joint, Mountain Slice Pizzeria, as well as other restaurants and bars.
I really enjoyed my stay at Mellow Mountain Hostel in South Lake Tahoe. At $30/night it was very affordable, and the accommodation was clean with friendly staff and the option for an all-female dorm. They had cheap laundry and each room had its own shower. It’s a bit far away from the grocery stores, but SLT has rentable scooters to get around town or there’s a convenience store nearby that has most hiker foods.
Notes and Exceptions
Bikes
Bikes are allowed on sections of the Tahoe Rim Trail. Most notably is on the section south of Mt Rose heading Clockwise. Bikes are allowed on even-numbered calendar days only, so if you want to avoid bike traffic, hike this section on an odd numbered day. I got there on the unfortunate combination of a sunny, even, weekend day in October, so the trail was bustling with mountain bikers for about 10 miles.
Dogs
Dogs are allowed all along the Tahoe Rim Trail. The Tahoe Rim Trail is dog-friendly, but regulations vary by trail section, so keep dogs leashed around others and under voice control. As a shared, multi-use trail, be mindful of other users and yield as needed. To reduce environmental impacts, pack out dog waste on day hikes or bury it away from trails and water sources on longer trips. Limit the dog-to-human ratio to 1:1, and prevent your dog from disturbing wildlife or plants.
Tahoe Rim Trail Association
Become a member of the Tahoe Rim Trail Association (TRTA) and join the 165-Mile Club by officially registering your completed thru-hike. You can do this online, or by stopping by their office in Stateline near South Lake Tahoe. Membership with the TRTA not only supports trail preservation but also earns you a certificate, a commemorative badge, and a place in their official records. The TRTA is dedicated to maintaining the trail, promoting conservation, and enhancing the experience for all hikers on the Tahoe Rim Trail.
Evening at Round Lake
Conclusion
Completing the Tahoe Rim Trail was so much fun. It was enough of a challenge to keep it interesting, while also being logistically easy to follow and plan. The landscapes were gorgeous; from the crystal-clear waters of Lake Tahoe to the expansive alpine views, every section of the trail offered a unique and unforgettable experience. Each day contained plenty of variety to keep me entertained!
Reflecting on this adventure, the TRT reinforced why I love long-distance hiking. It’s not just about the miles; it's about finding moments of solitude, pushing past physical and mental limits, and connecting with nature in a profound way. This trail gave me both the serenity of quiet lakeside camps and the high from physical exertion over mountain passes—a perfect mix for any backpacker looking to immerse themselves in the wilderness.
The TRT is a trail that deserves both preparation and appreciation, and it will reward you with memories that last a lifetime.
Whether you’re a seasoned thru-hiker or a backpacker looking for your next challenge, the Tahoe Rim Trail offers a slice of the alpine wilderness you’ll never forget. I hope my experience on this trail encourages you to discover the magic of the Tahoe Rim Trail for yourself. Happy trails!


